How to Remove Plosives From Audio Recording

You're editing your podcast or video, and every time someone says a word with "P" or "B," there's a harsh pop or thump that makes the audio sound unprofessional. These explosive sounds are called plosives, and they're one of the most common audio problems in voice recordings. Unlike background noise that runs throughout a recording, plosives appear as sudden bursts that can be jarring to listeners.
The good news is that plosives can be prevented during recording and removed in post-production. This guide covers what causes plosives, how to prevent them, and multiple methods for cleaning them up after recording.
What are plosives and why they happen
Plosives are explosive sounds created when you pronounce certain consonants, particularly "P," "B," "T," "D," "K," and "G." When you say these sounds, you release a burst of air from your mouth. If that air hits the microphone diaphragm directly, it creates a low-frequency thump or pop that can distort the recording. These are related to mouth noises, which include clicks and smacks that can also distract from your audio.
The physics behind plosives
When you pronounce a plosive consonant, your mouth builds up air pressure and then releases it suddenly. This creates a pressure wave that travels toward the microphone. If the microphone is positioned directly in front of your mouth, this pressure wave hits the diaphragm with enough force to cause distortion, especially in the low frequencies below 100 Hz.
Why some microphones are more susceptible
Condenser microphones are more sensitive to plosives than dynamic microphones because they have thinner, more responsive diaphragms. Cardioid microphones, which pick up sound from the front, are particularly vulnerable because they're designed to capture everything directly in front of them, including those air bursts.
Prevention: stopping plosives before they start
The most effective approach is preventing plosives during recording. Once captured, they're harder to remove cleanly than other types of noise.
Use a pop filter
A pop filter is a screen made of nylon or metal mesh that sits between you and the microphone. It breaks up the air pressure from plosives before it reaches the microphone capsule, preventing the harsh pop while allowing your voice to pass through clearly. This is the single most important tool for preventing plosives, and it's essential for any professional voice recording setup.
Position your microphone correctly
Instead of speaking directly into the microphone, position it slightly above or below your mouth, angled toward your voice. This way, the air bursts from plosives pass by the microphone rather than hitting it directly. A common technique is to position the microphone at a 45-degree angle, pointing toward your mouth but not directly in line with it.
Maintain proper distance
Keep 6-12 inches between your mouth and the microphone. This distance gives the air pressure from plosives time to dissipate before reaching the microphone. Being too close increases the risk of plosives, while being too far reduces vocal presence and clarity.
Adjust your speaking technique
You can reduce plosive intensity by softening your pronunciation slightly, especially for words that start with "P" or "B." This doesn't mean mumbling. Instead, it means being aware of how forcefully you're releasing air and moderating it when necessary. Some voice coaches teach techniques for "de-voicing" plosives slightly, which reduces their impact on recordings.
Choose the right microphone
Some microphones handle plosives better than others. Dynamic microphones are generally more forgiving because they're less sensitive to sudden pressure changes. Shotgun microphones, which have built-in wind protection, also handle plosives better than standard cardioid condensers. If you're recording in a space where you can't control positioning perfectly, choosing a more forgiving microphone helps.
Method 1: High pass filter in Audacity
Why high pass filters work for plosives
Since plosives create low-frequency energy below 100 Hz, a high pass filter that cuts frequencies below a certain point can remove the thump while preserving your voice. Human speech contains important frequencies starting around 80-100 Hz for male voices and 150-200 Hz for female voices, so you can safely cut below these ranges.
Step-by-step process
Open your audio in Audacity and select the entire track. Go to Effect > High Pass Filter. Set the cutoff frequency between 80-120 Hz depending on your voice type. Start conservative, around 100 Hz, and listen to the result. If plosives persist, you can increase the cutoff slightly, but going too high will make voices sound thin and unnatural.
Apply the filter and review the result. You should notice the low-frequency thumps disappearing while your voice remains clear. If the voice sounds unnatural, lower the cutoff frequency and try again.
Limitations of high pass filtering
While effective, high pass filters remove all low frequencies, not just plosives. This means you'll lose bass in music, natural room tone, and the warmth in voices. For recordings where you want to preserve natural low-end content, this method requires careful balancing or should be combined with other techniques.
Method 2: De-plosive plugins and tools
Dedicated plosive removal tools
Many audio editors include dedicated de-plosive effects that specifically target and remove plosive sounds. These tools are more precise than high pass filters because they detect plosive events and remove only the problematic low-frequency content, leaving the rest of your audio untouched.
In Audacity, you can use the High Pass Filter manually, but some DAWs like Adobe Audition include an automatic "De-plosive" effect that analyzes your audio and removes plosives while preserving natural voice characteristics. These tools typically let you adjust sensitivity and the frequency range being targeted.
When to use de-plosive tools
Dedicated de-plosive tools work best when you have occasional plosives throughout a recording. They're less effective for recordings where plosives are constant or when the plosive sound is so severe that it's distorted the recording beyond repair. For mild to moderate plosives, these tools provide a good balance between effectiveness and preserving audio quality.
Method 3: Manual editing for precise control
Targeting individual plosives
For recordings with a few severe plosives, manual editing gives you the most control. You can zoom in on each plosive event, identify the exact moment and frequency range where the problem occurs, and reduce the gain or apply targeted filtering only to those specific sections.
In Audacity, zoom in on a plosive event in the waveform view. You'll see a sudden spike in the low frequencies. Select just that section and apply a high pass filter or reduce the gain for that specific moment. This preserves the natural low-end content in the rest of your recording while removing only the problematic plosives.
When manual editing makes sense
Manual editing is time-consuming but gives you the best results for severe plosives or when you need to preserve low-frequency content in other parts of your recording. It's practical when you have a limited number of plosives to fix, but becomes impractical for recordings with constant plosive issues throughout.
Method 4: AI-powered plosive removal
Automatic detection and removal
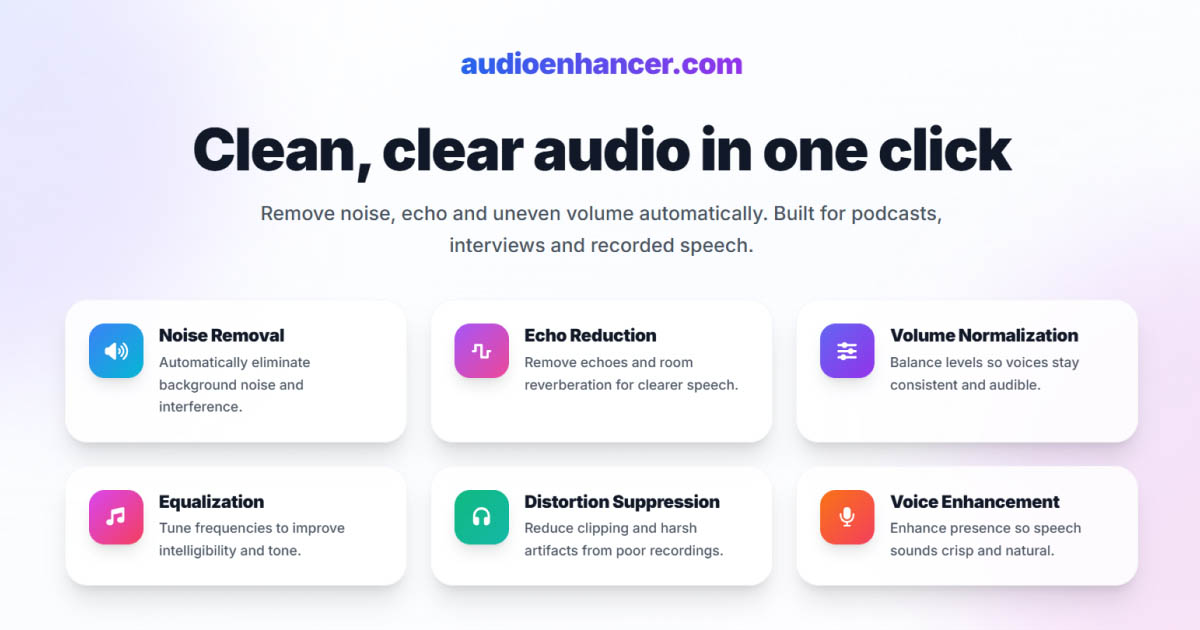
AI-powered audio enhancement tools can identify and remove plosives automatically without the frequency trade-offs of manual filtering. Tools like AudioEnhancer.com use machine learning to distinguish between plosive sounds and desired low-frequency content like voice warmth or musical bass.
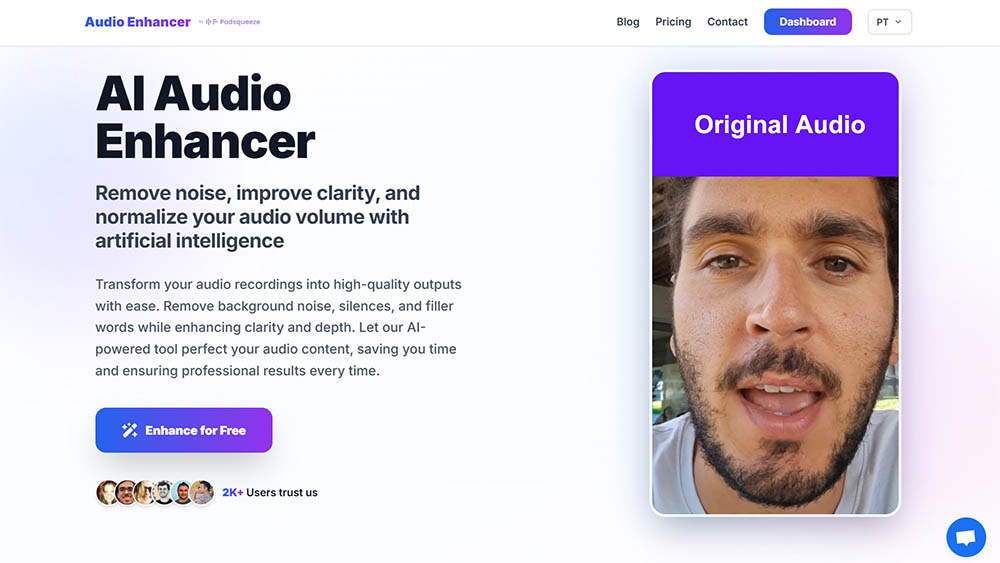
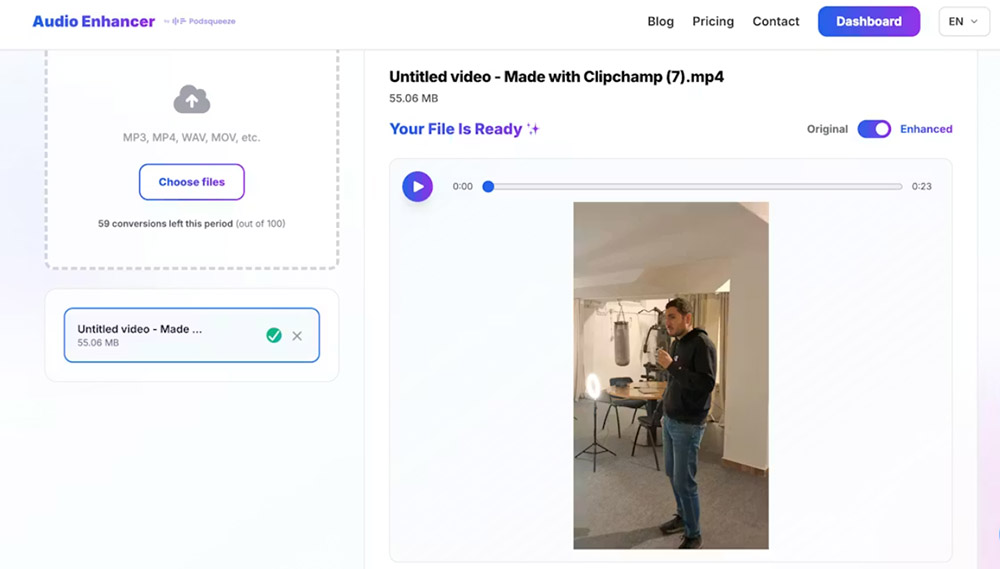
The advantage is speed and consistency. Upload your file, and the AI analyzes the entire recording, removing plosives while preserving the natural character of voices and other audio elements. The simple upload interface makes it easy to process files quickly without complex configuration. This is particularly valuable when you have multiple files to process or when plosives appear inconsistently throughout a recording.
When AI tools excel
AI plosive removal works best when the original voice recording is clear and plosives are the primary problem. If your recording has multiple issues, such as plosives plus background noise and echo, tools like AudioEnhancer.com can handle them simultaneously, which would require multiple manual steps in traditional editing. The platform works effectively even with severe plosives that create significant low-frequency distortion, removing the thump while maintaining natural voice characteristics.
For content creators producing regular podcasts or videos, AI tools eliminate the repetitive manual work of filtering and editing individual plosives. The processing happens automatically, and you get consistent results across all recordings regardless of microphone technique or positioning during capture.
Comparing removal methods
Each method has strengths depending on your situation:
| Factor | High Pass Filter | De-plosive Tool | Manual Editing | AI Tool |
|---|---|---|---|---|
| Speed | Fast (2-3 min) | Fast (2-3 min) | Slow (10-30 min) | Very fast (2-3 min) |
| Quality | Good (may thin voice) | Good (targeted) | Excellent (precise) | Excellent (automatic) |
| Learning curve | Low | Low | Medium | Minimal |
| Cost | Free | Free/Paid | Free | Paid (often) |
| Best for | Quick fixes | Moderate plosives | Severe, few plosives | Regular production |
The choice depends on the severity of your plosives, your technical comfort level, and how often you deal with this problem. For occasional recordings with mild plosives, a high pass filter might be sufficient. For regular content creation or severe plosive issues, AI tools save significant time while delivering professional results.
Combining methods for severe cases
When plosives are extreme, you might need to combine approaches. Start with a dedicated de-plosive tool to remove the worst instances, then use AI tools or manual editing to clean up remaining artifacts. This two-stage approach preserves more natural audio character than aggressive single-pass filtering.
The key is starting conservative and building up. Apply a light de-plosive effect first, listen to the result, then decide if additional processing is needed. Over-processing can make audio sound artificial, and sometimes a small amount of remaining plosive energy is more acceptable than heavily processed audio.
Best practices for clean recordings
Test your setup before recording
Before important sessions, record a test phrase with plosive-heavy words like "Peter picked a peck of pickled peppers" or "Bob bought a big blue boat." Listen back and adjust your microphone position, pop filter placement, or distance until plosives are minimized.
Monitor while recording
Wear headphones during recording to catch plosives in real-time. If you hear harsh pops starting, you can adjust your position, add more distance, or modify your speaking technique immediately rather than discovering the problem during post-production.
Use quality equipment
Invest in a quality pop filter and microphone. Cheap pop filters might not provide adequate protection, and some microphones are inherently more susceptible to plosives. A good pop filter is one of the most cost-effective investments for improving recording quality.
Maintain consistent technique
Once you find a microphone position and distance that works, maintain it consistently throughout your recording. Moving closer or farther during recording creates inconsistent plosive levels that are harder to fix in post-production.
When plosives can't be fully removed
Some recordings have plosives so severe that complete removal isn't possible without affecting audio quality. In these cases, you have a few options:
Accept partial improvement
Sometimes reducing plosive intensity by 70-80% is enough to make the recording usable, even if some low-frequency thump remains. Listeners can often mentally filter out remaining mild plosives if the voice content is clear enough.
Consider re-recording
If plosives make dialogue unintelligible or removal attempts create artifacts, re-recording with proper prevention measures might be more efficient than extensive post-production. This is especially true for scripted content where you control the recording environment.
Use it as a learning experience
Severe plosives often indicate setup problems that should be addressed. Use problematic recordings to identify and fix issues in your recording technique, preventing future problems.
Conclusion
Plosives don't have to ruin your podcast or video recordings. Prevention through proper microphone positioning, pop filters, and speaking technique is always the best approach. When you're working with existing recordings, both manual and AI-powered removal methods can restore audio quality.
For quick fixes on occasional recordings with mild plosives, high pass filters in Audacity provide a free solution that works well. For regular content creation or severe plosive cases, AI-powered tools offer automatic processing that saves time while preserving natural voice characteristics.
The goal is clear, professional audio that serves your content. Whether you choose manual editing or AI automation, understanding what causes plosives and which removal methods match your situation puts you in control of your final audio quality.