How to Remove Dog Barking From Audio Recording


You're recording a podcast episode or video, everything is going smoothly, and then your dog starts barking in the background. Those sudden, loud interruptions can ruin an otherwise perfect recording. Unlike steady background noise that runs throughout a recording, dog barking appears as intermittent bursts that require different removal techniques.
The good news is that dog barking can be removed or significantly reduced, even after recording. This guide covers what makes dog barking challenging to remove, prevention strategies, and multiple methods for cleaning it up in post-production.
What makes dog barking challenging to remove
Dog barking is different from other types of noise because it's intermittent, loud, and covers a wide frequency range. Understanding these characteristics helps you choose the right removal method.
Intermittent nature
Unlike steady background noise that runs continuously, dog barking appears as sudden bursts. This means standard noise reduction tools that work on continuous noise patterns often miss barking sounds or require different settings. You need methods that can target specific moments rather than filtering the entire recording.
Wide frequency range
Dog barks contain energy across multiple frequency bands, from low-frequency woofs around 200-500 Hz to high-frequency yips that can reach 2000-4000 Hz. This wide range makes it difficult to remove with simple frequency filters, as you'd need to cut too many frequencies and risk affecting your voice.
Volume and clarity
Dog barks are typically loud and clear, which means they're well-recorded in your audio. While this makes them easy to identify, it also means they're harder to remove without affecting surrounding audio. The contrast between the bark and your voice can create artifacts if removal isn't done carefully.
Prevention: stopping dog barking before it starts
The most effective approach is preventing dog barking during recording. While you can't always control your pet's behavior, you can take steps to minimize interruptions.
Record in a separate room
If possible, record in a room where your dog can't hear you or where you can close the door. This physical separation prevents your voice from triggering barking responses. For home podcasters, a dedicated recording space with good sound isolation helps prevent pet interruptions.
Exercise your dog before recording
A tired dog is less likely to bark. Take your dog for a walk or play session before important recording sessions. This reduces their energy and makes them more likely to rest quietly during your recording time.
Use white noise or background sound
Some dogs bark in response to outside sounds they hear through windows. Playing white noise or soft background music can mask these external sounds, reducing the likelihood of barking. Just make sure the background sound is quiet enough that it won't interfere with your recording.
Record during quiet times
If your dog tends to bark at specific times, like when neighbors are active or during mail delivery, schedule your recording sessions around those times. Understanding your dog's patterns helps you plan recording sessions when interruptions are least likely.
Consider temporary relocation
For critical recordings, consider having someone take your dog for a walk or temporarily relocate them to another part of the house. This isn't always practical, but for important content, the extra effort prevents post-production headaches.
Method 1: Manual editing and silencing
The straightforward approach
For recordings with a few isolated barks, manual editing is often the simplest solution. You can identify each bark, select it, and either silence it or reduce its volume significantly.
Step-by-step process
Open your audio in Audacity and listen through to identify barking sections. Zoom in on each bark in the waveform view. You'll see a sudden spike in the audio. Select just that section, being precise to avoid cutting into your voice, and either silence it completely or reduce the gain by 80-90%.
For barks that overlap with speech, you'll need to be more careful. Select only the bark portion, which might require zooming in closely to see where the bark starts and ends relative to your voice. Apply gain reduction rather than complete silencing to preserve some natural sound.
Limitations of manual editing
Manual editing works well for a few isolated barks, but becomes time-consuming when you have many barks throughout a long recording. It also requires careful selection to avoid cutting into your voice, which can be challenging when barks overlap with speech.
Method 2: Spectral editing for precise removal
Targeting specific frequency bands
Spectral editing lets you visualize your audio's frequency content and manually remove the specific frequency bands where dog barking appears. This is more precise than simple silencing and works better when barks overlap with speech.
In Audacity, switch to Spectrogram view to see your audio's frequency content over time. Dog barks typically appear as bright vertical bands across multiple frequencies. You can select these specific bands and reduce their gain, or use the Spectral Subtraction effect to remove them while preserving surrounding frequencies.
This method gives you the most control but requires the most time. You'll need to identify each bark visually and remove it manually, which isn't practical for long recordings with constant barking.
When spectral editing makes sense
Spectral editing works best when you have a few severe barks that overlap with important speech. It's also useful when you need to preserve the natural sound of your recording while removing only the barking. The trade-off is the time investment required to manually identify and remove each bark.
Method 3: Noise gates for automatic detection
Automating the silencing process
A noise gate is an effect that automatically silences audio below a certain volume threshold. You can set the threshold so that your voice passes through, but quieter sounds like distant barks get cut out. This works best when barks are quieter than your voice or when they occur during pauses in speech.
In Audacity, go to Effect > Noise Gate. Set the threshold level so it's above the volume of barks but below your voice level. Adjust the attack and release times to make the gate open and close smoothly. This prevents abrupt cuts that sound unnatural.
Limitations of noise gates
Noise gates work well when barks are quieter than your voice, but they're less effective when barks are as loud or louder than your speech. They also can't distinguish between a bark and other sounds at similar volumes, which means they might cut out parts of your voice if not set carefully.
Method 4: AI-powered noise removal
Automatic detection and removal
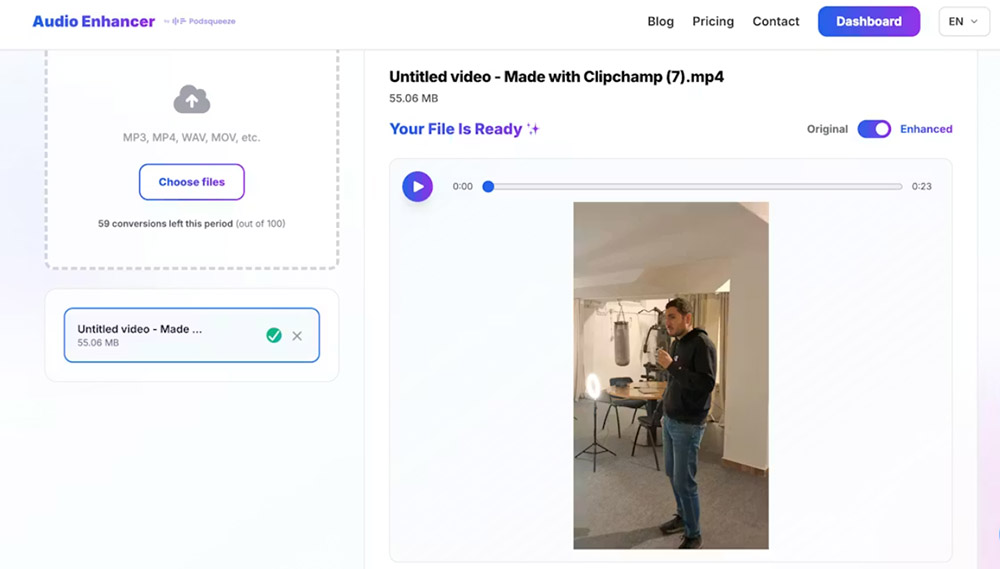
AI-powered audio enhancement tools can identify and remove dog barking automatically without the manual work of editing or spectral manipulation. Tools like AudioEnhancer.com use machine learning trained on thousands of hours of audio to distinguish between dog barking and desired audio content like your voice.
The advantage is speed and consistency. Upload your file, and the AI analyzes the entire recording, removing barks while preserving your voice and other audio elements. This is particularly valuable when you have multiple files to process or when barking appears inconsistently throughout a recording.
When AI tools excel
AI barking removal works best when the original voice recording is clear and barking is the primary problem. If your recording has multiple issues, such as barking plus background noise and echo, tools like AudioEnhancer.com can handle them simultaneously, which would require multiple manual steps in traditional editing. The platform works with both audio and video files, making it useful for cleaning up podcast recordings or video content where barking appears.
For content creators producing regular podcasts or videos, AI tools eliminate the repetitive manual work of identifying and removing individual barks. The processing happens automatically, and you get consistent results across all recordings regardless of when or how frequently barking occurs during capture. Even in cases where barking is severe or constant throughout a recording, AI-powered tools can significantly reduce the noise while maintaining natural voice quality.
Comparing removal methods
Each method has strengths depending on your situation:
| Factor | Manual Editing | Spectral Editing | Noise Gate | AI Tool |
|---|---|---|---|---|
| Speed | Medium (5-15 min) | Slow (15-30 min) | Fast (2-3 min) | Very fast (2-3 min) |
| Quality | Good (precise) | Excellent (targeted) | Good (automatic) | Excellent (automatic) |
| Learning curve | Low | High | Medium | Minimal |
| Cost | Free | Free | Free | Paid (often) |
| Best for | Few isolated barks | Overlapping barks | Quiet barks | Regular production |
The choice depends on the number and severity of barks, your technical comfort level, and how often you deal with this problem. For occasional recordings with a few barks, manual editing might be sufficient. For regular content creation or recordings with constant barking, AI tools save significant time while delivering professional results.
Combining methods for severe cases
When barking is severe or constant, you might need to combine approaches. Start with AI tools or noise gates to handle the majority of barks automatically, then use manual editing or spectral editing to clean up remaining instances that overlap with important speech.
The key is addressing the most prominent barks first. If you have loud barks that completely overpower your voice, remove those before tackling quieter background barks. This prevents artifacts that can occur when trying to remove multiple barking instances simultaneously.
Best practices for clean recordings
Test your recording environment
Before important sessions, record a test to check for potential barking issues. If you hear your dog responding to your voice or outside sounds, take preventive measures before starting your actual recording.
Monitor while recording
Wear headphones during recording to catch barking in real-time. If you hear barking start, you can pause and wait for it to stop, or take steps to quiet your dog before continuing. This prevents discovering the problem during post-production.
Keep backup recordings
When recording important content, consider doing multiple takes. If one take has barking interruptions, you might be able to edit around them or use a different take for those sections. Having options gives you flexibility in post-production.
Plan your recording schedule
Understand your dog's patterns and schedule recording sessions when interruptions are least likely. This might mean recording early in the morning, during your dog's nap time, or when someone else can supervise your pet.
When dog barking can't be fully removed
Some recordings have barking so severe or overlapping that complete removal isn't possible without affecting audio quality. In these cases, you have a few options:
Accept partial improvement
Sometimes reducing barking by 70-80% is enough to make the recording usable, even if some barking remains. Listeners can often mentally filter out remaining mild barking if your voice content is clear enough.
Consider re-recording
If barking makes dialogue unintelligible or removal attempts create artifacts, re-recording with proper prevention measures might be more efficient than extensive post-production. This is especially true for scripted content where you control the recording environment.
Use it creatively
In some cases, a single bark might add character to casual podcast content. The decision depends on your content type and audience expectations. For professional content, complete removal is usually necessary, but for casual podcasts, a brief bark might be acceptable if it doesn't disrupt the flow.
Conclusion
Dog barking doesn't have to ruin your podcast or video recordings. Prevention through proper environment setup and scheduling is always the best approach. When you're working with existing recordings, both manual and AI-powered removal methods can restore audio quality.
For quick fixes on occasional recordings with a few isolated barks, manual editing in Audacity provides a free solution that works well. For regular content creation or recordings with constant barking, AI-powered tools offer automatic processing that saves time while preserving natural voice characteristics.
The goal is clear, professional audio that serves your content. Whether you choose manual editing or AI automation, understanding what makes dog barking challenging to remove and which methods match your situation puts you in control of your final audio quality.